
By using a table in Google Docs, you can structure document details to provide readers with an easier way to access and understand the information you’re presenting. Rather than formatting lists or paragraphs, you can enter your data into a grid format for a neat and clean appearance.
In this guide, we’ll show you how to insert a table and adjust its properties as well as how to edit a table in Google Docs, sort the table data, and remove a table you no longer want.
Table of Contents
You can add a table to Google Docs by simply selecting the number of rows and columns you want.
Note : You can also select Table templates and pick a premade option if you prefer.

Online Tech Tips is reader-supported. We may earn a commission when you buy through links on our site. Learn more.
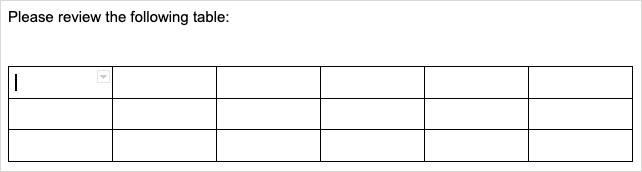
You’ll then see your table in the location you selected and can start entering your text into the table cells.
You may want to make some changes to the appearance of your table before adding data to it or after. You can adjust row, column, alignment, and color properties for a Google Docs table.
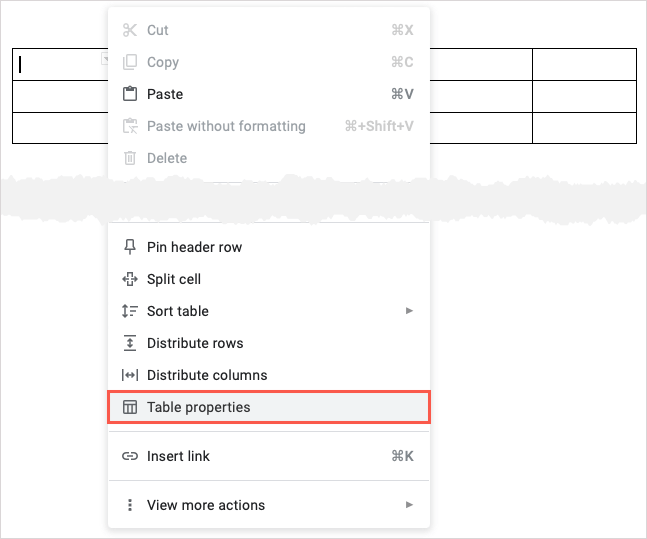
Right-click the table and pick Table properties in the shortcut menu.
When the sidebar opens on the right, expand the section for the item you want to adjust.
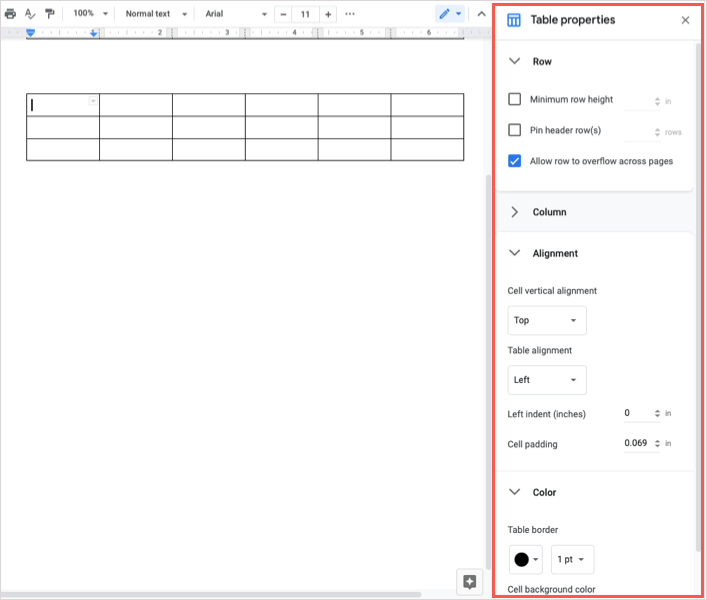
You’ll see any changes you make to your table in real-time. When you finish, use the X on the top right to close the sidebar.
You have a few ways to add and remove both columns and rows from your table in Google Docs.
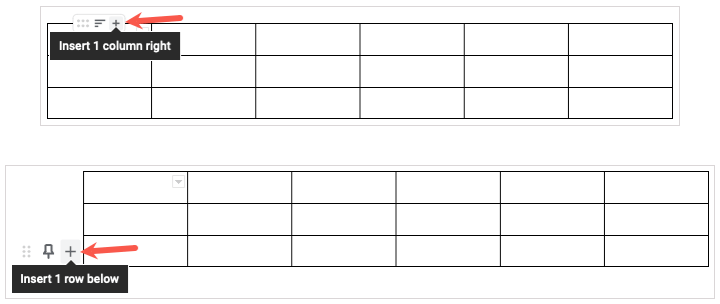
To quickly add a column or row, hover your cursor over the table to display the small toolbar. You’ll see a toolbar for each column and row. Select the plus sign to add a column to the right or row below.
To add a column to the left or row above, right-click a cell in the column or row. Then, choose an Insert option from the shortcut menu.

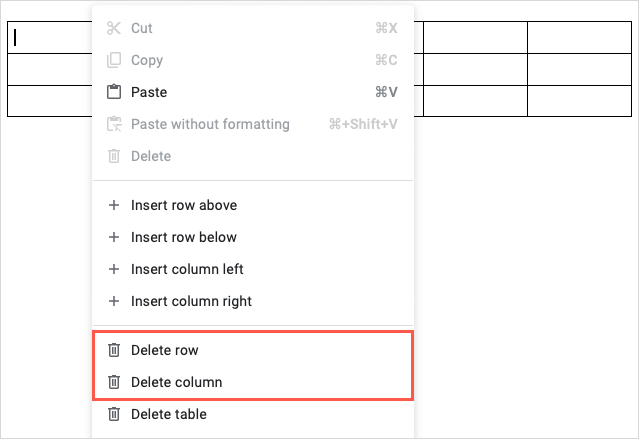
To remove a column or row, right-click a cell in it and choose Delete row or Delete column from the shortcut menu.
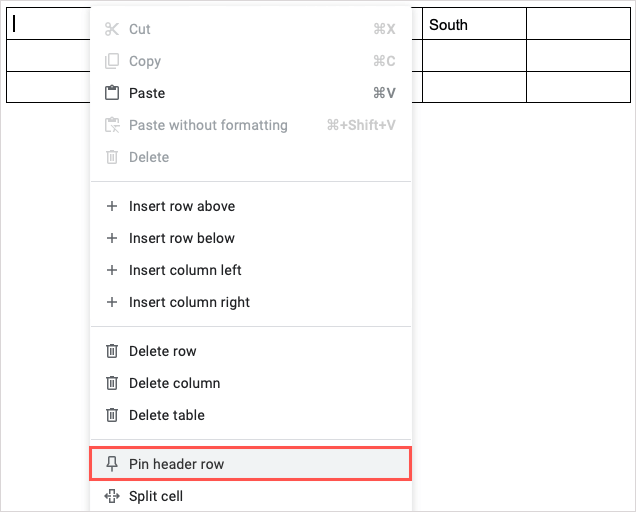
If you create a table with a header row, you can pin it to the top to keep it in place. This is helpful when rearranging rows or sorting the table as we’ll discuss below.
Hover your cursor over the row to display the small toolbar and select the pin icon.

Alternatively, right-click the row and pick Pin header row .
To remove a pinned header row, choose the pin icon in the toolbar which has a line through it after you pin a row or right-click and pick Unpin header row .

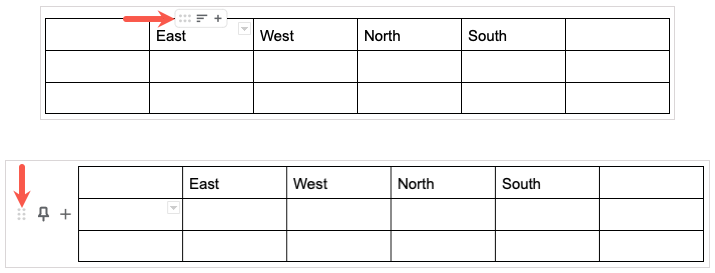
With the flexible features for tables in Google Docs, you don’t have to cut and paste to rearrange rows or columns. Just use the toolbar.
Hover your cursor over a column or row to display the small toolbar. Select the grid icon on the left side of the toolbar and then drag the column left or right or the row up or down.
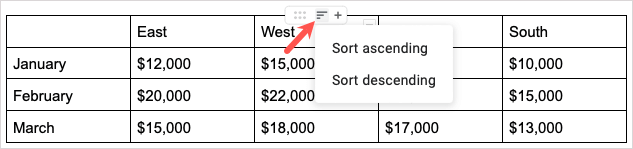
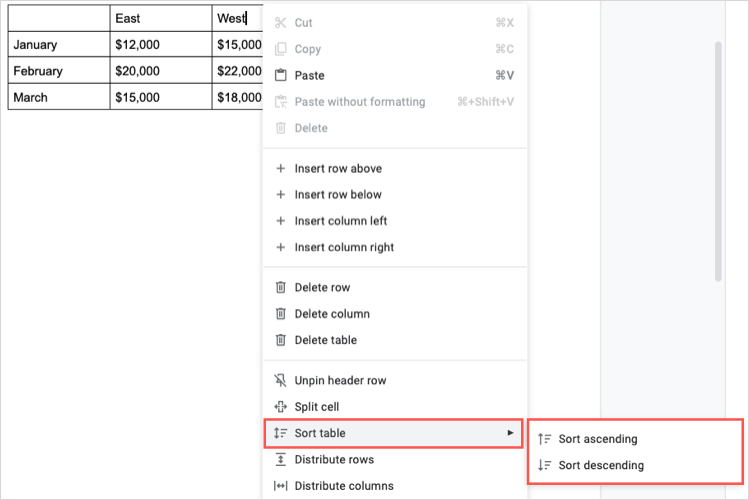
You may want to display your table in alphabetical or numerical order. You can do so by the column of your choice one of two ways.
Hover your cursor over the column and select the filter icon in the toolbar. Then, pick Sort ascending or Sort descending .
You can also right-click the column, move to Sort table , and pick Sort ascending or Sort descending in the pop-out menu.
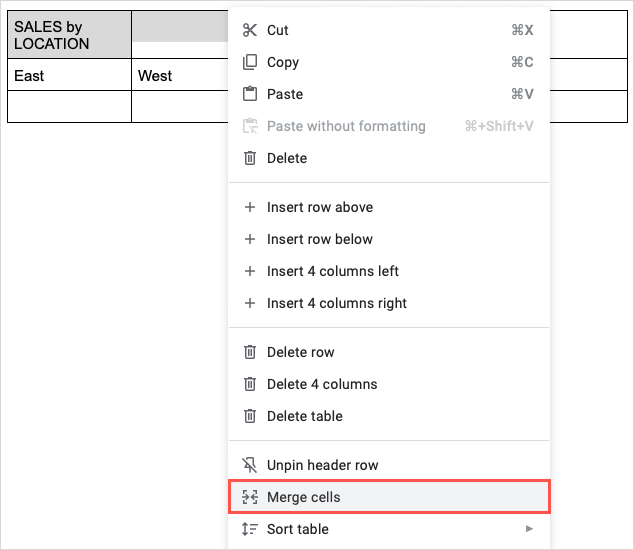
You may want to combine two cells into a single cell that spans several columns or rows. You can merge two or more cells in your table in a few simple steps.


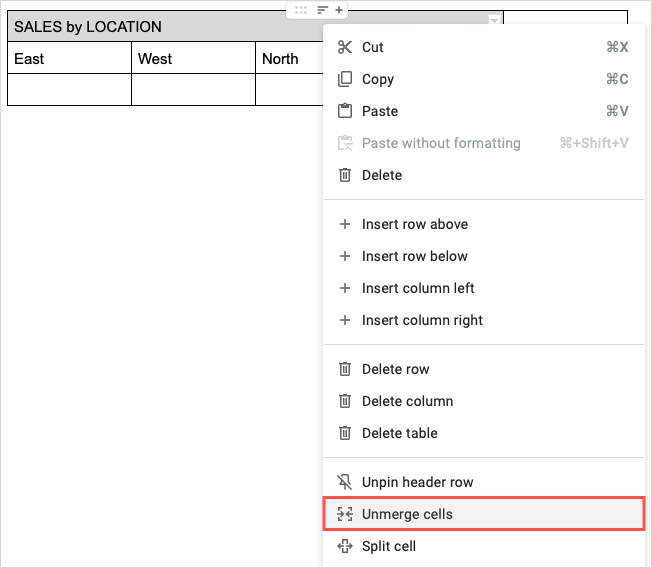
If you decide to unmerge these same cells later, right-click the merged cell and choose Unmerge cells .
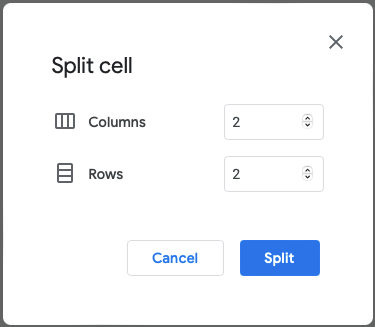
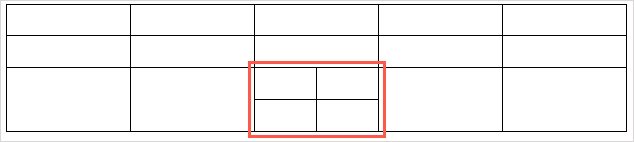
You can also do the opposite in a table and split cells rather than merge them. This is one of the new features that Google added to Docs in October 2022.
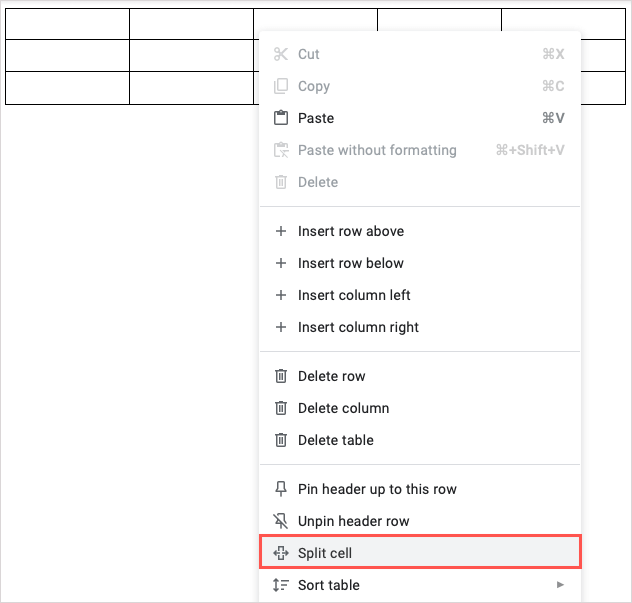
If you want to unsplit cells, you can select them and use the Merge cells feature described above.
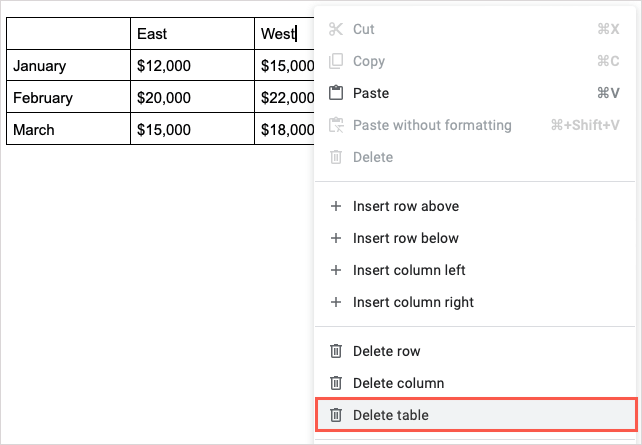
Should you decide later that you no longer want a table in your document, removing it is easy.
Right-click the table and choose Delete table from the shortcut menu. Keep in mind that this removes the data in the table as well.
Tables are useful tools for giving your document a structured appearance. If you’d like another helpful way to use them, take a look at how to make a fillable form with tables in Google Docs.